
Hello. I'm Minseob Kim, a backend developer at LINE ABC Studio. In this post, I'd like to share our recent experience building a Figma translation plugin using Papago. While I won't go into detail on how to build the plugin or go down to the code level, I'll focus on the challenges we faced while building the plugin, how we solved them, and the process we went through as a team.
When developing Figma plugins, the Figma Developers site is a good place to start. You'll also need knowledge of HTML, Node.js, and Typescript, and if you want to create more complex plugins, you may want to use a front-end framework like Vue.js or React.
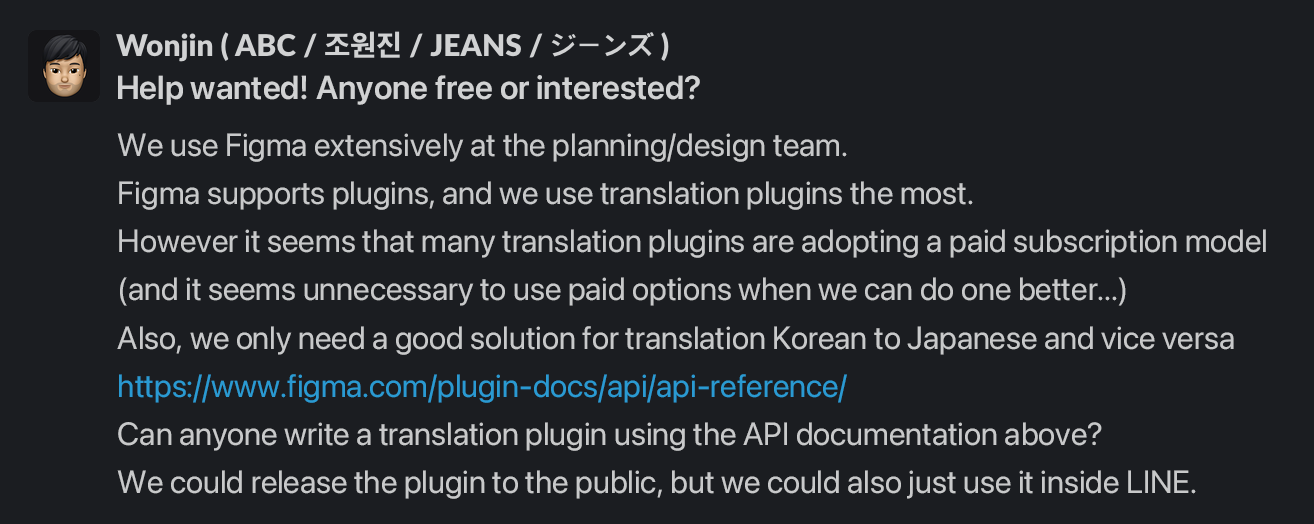
Need a Figma translation plugin?
I'm a backend developer, so I don't get to use Figma much. In fact, most of the time I just get to look at it. One day, there was a message in the team Slack channel from Jeans, who is in charge of design.
As a global service provider, LINE has an independent Papago server in-house. We use it to provide translation capabilities for collaboration tools such as Slack and Confluence, and we can also call the API directly if necessary. We hadn't utilized this feature in Figma yet, so it was an inconvenient situation where we had to use third party translation solutions that didn't provide the familiarity or quality that Papago provided.
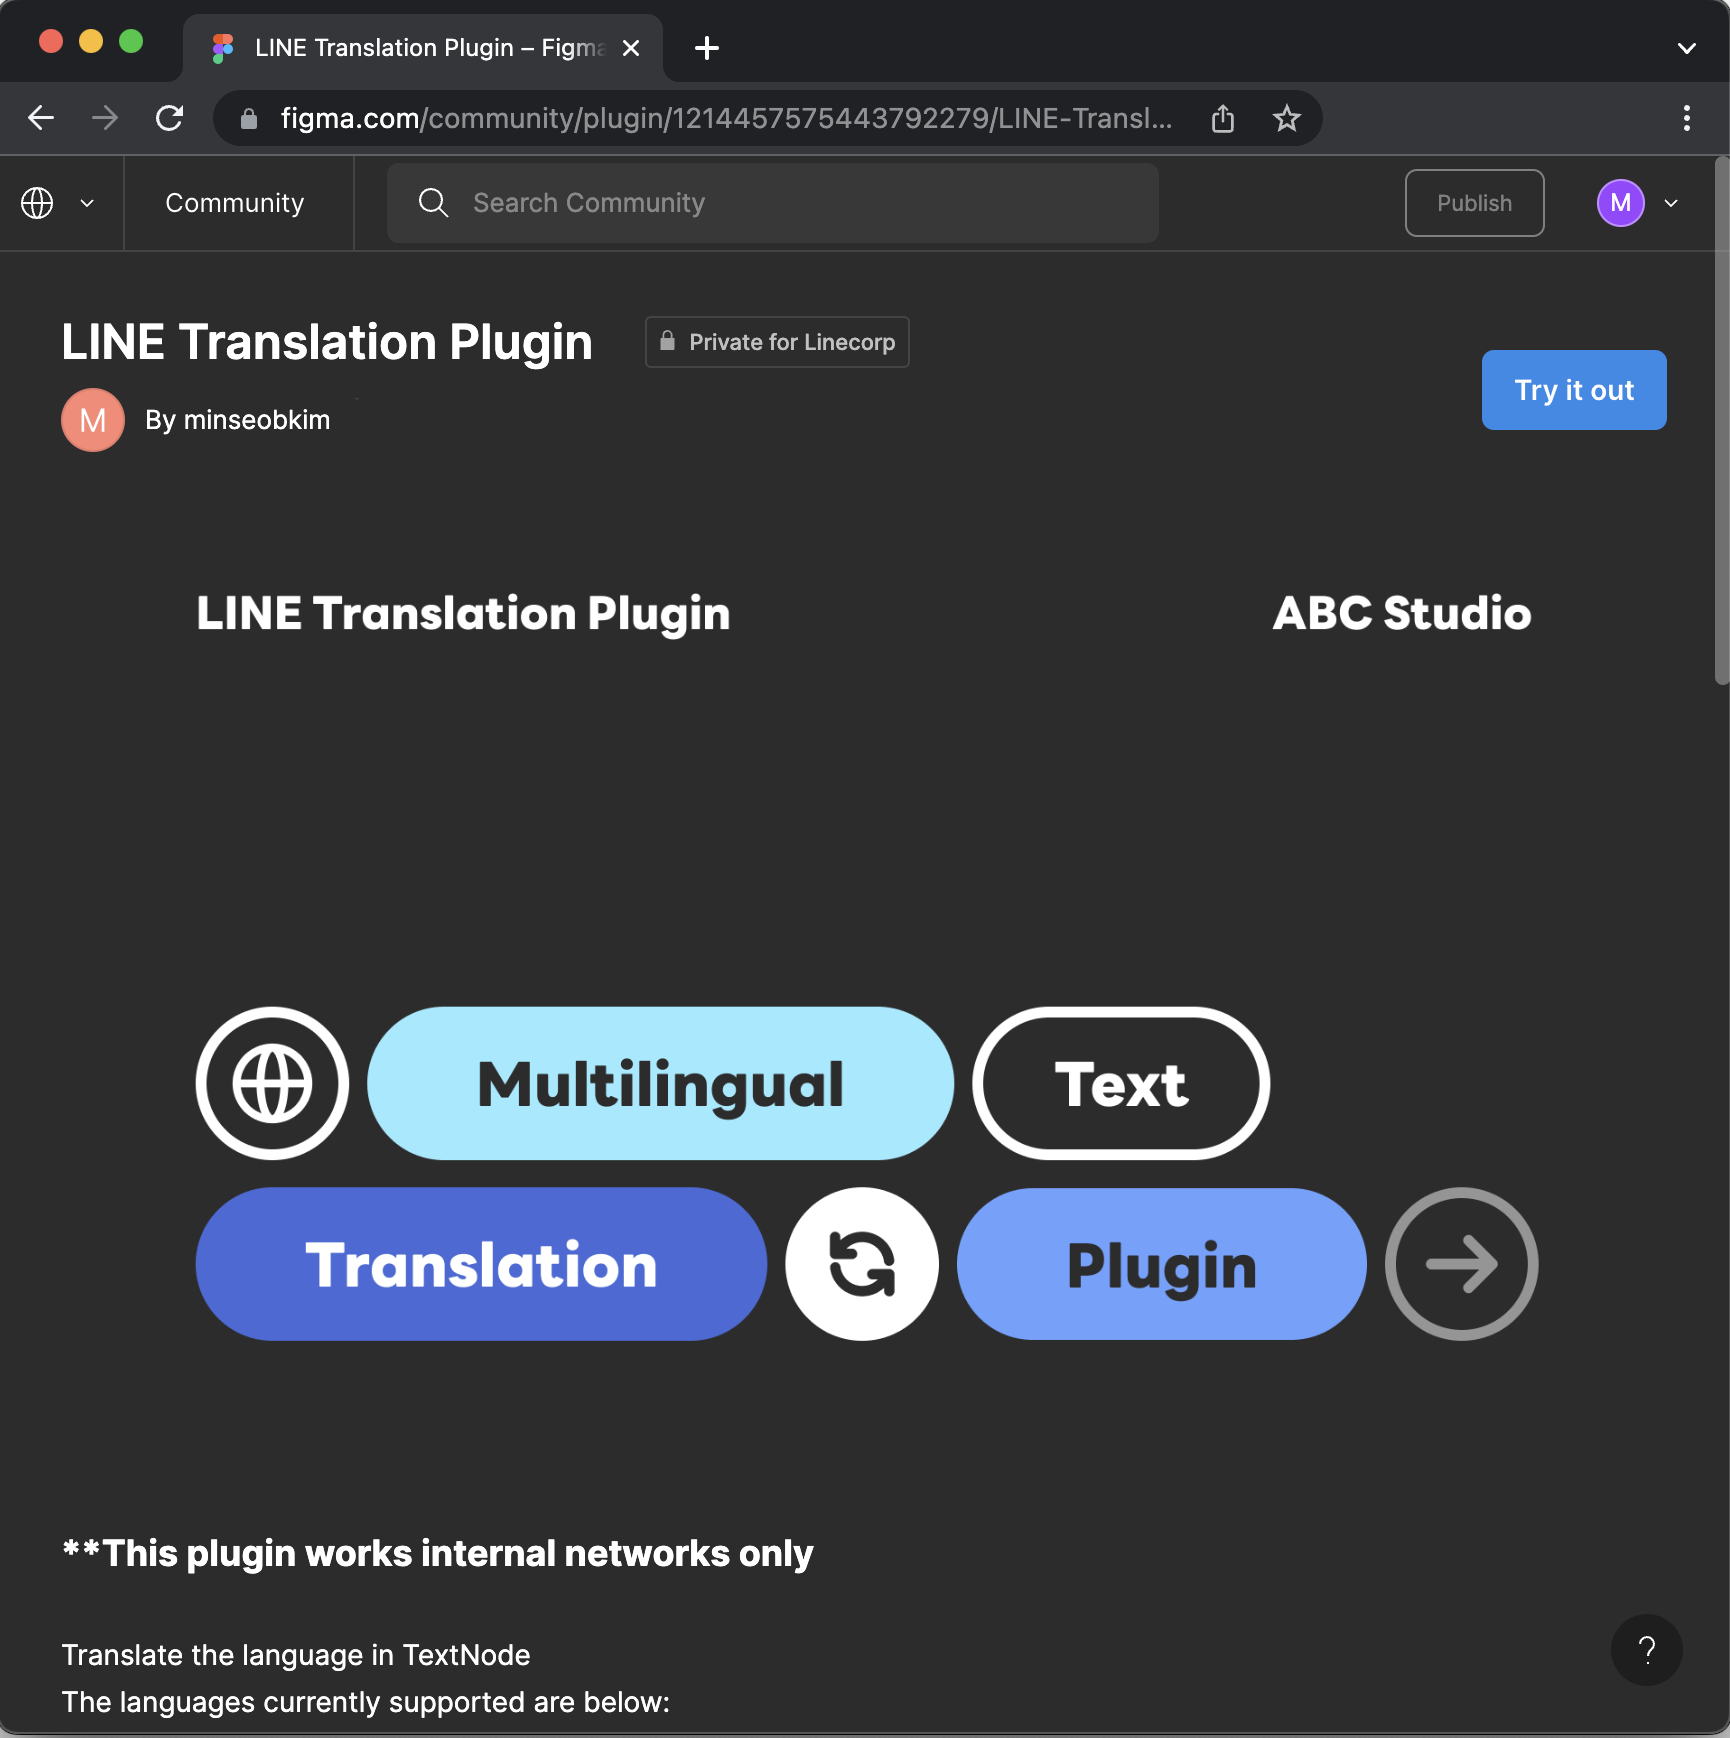
This is the first time I've realized that Figma supports plugins, and Jeans pointed me to the plugin documentation to get an idea of what it's all about. To summarize, Figma plugins use Node.js and Typescript, and finished plugins looked like this.
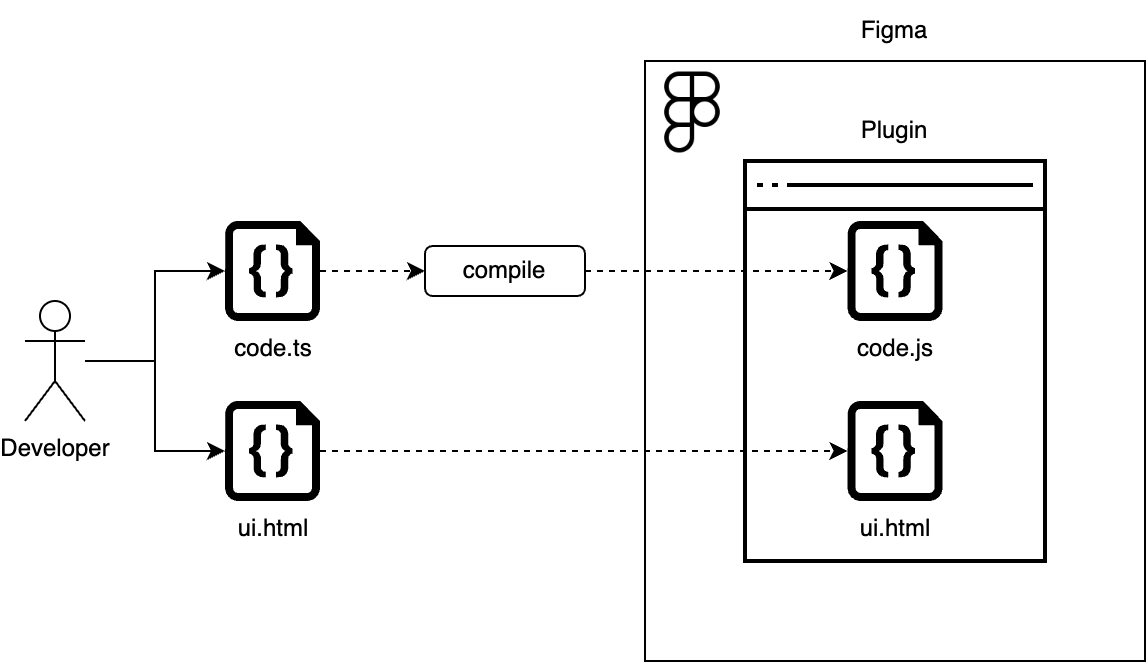
Plugin developers would write code.ts for the logic and ui.html for the UI using Typescript, and the compiled work would run as a plugin inside Figma (the filename doesn't matter).
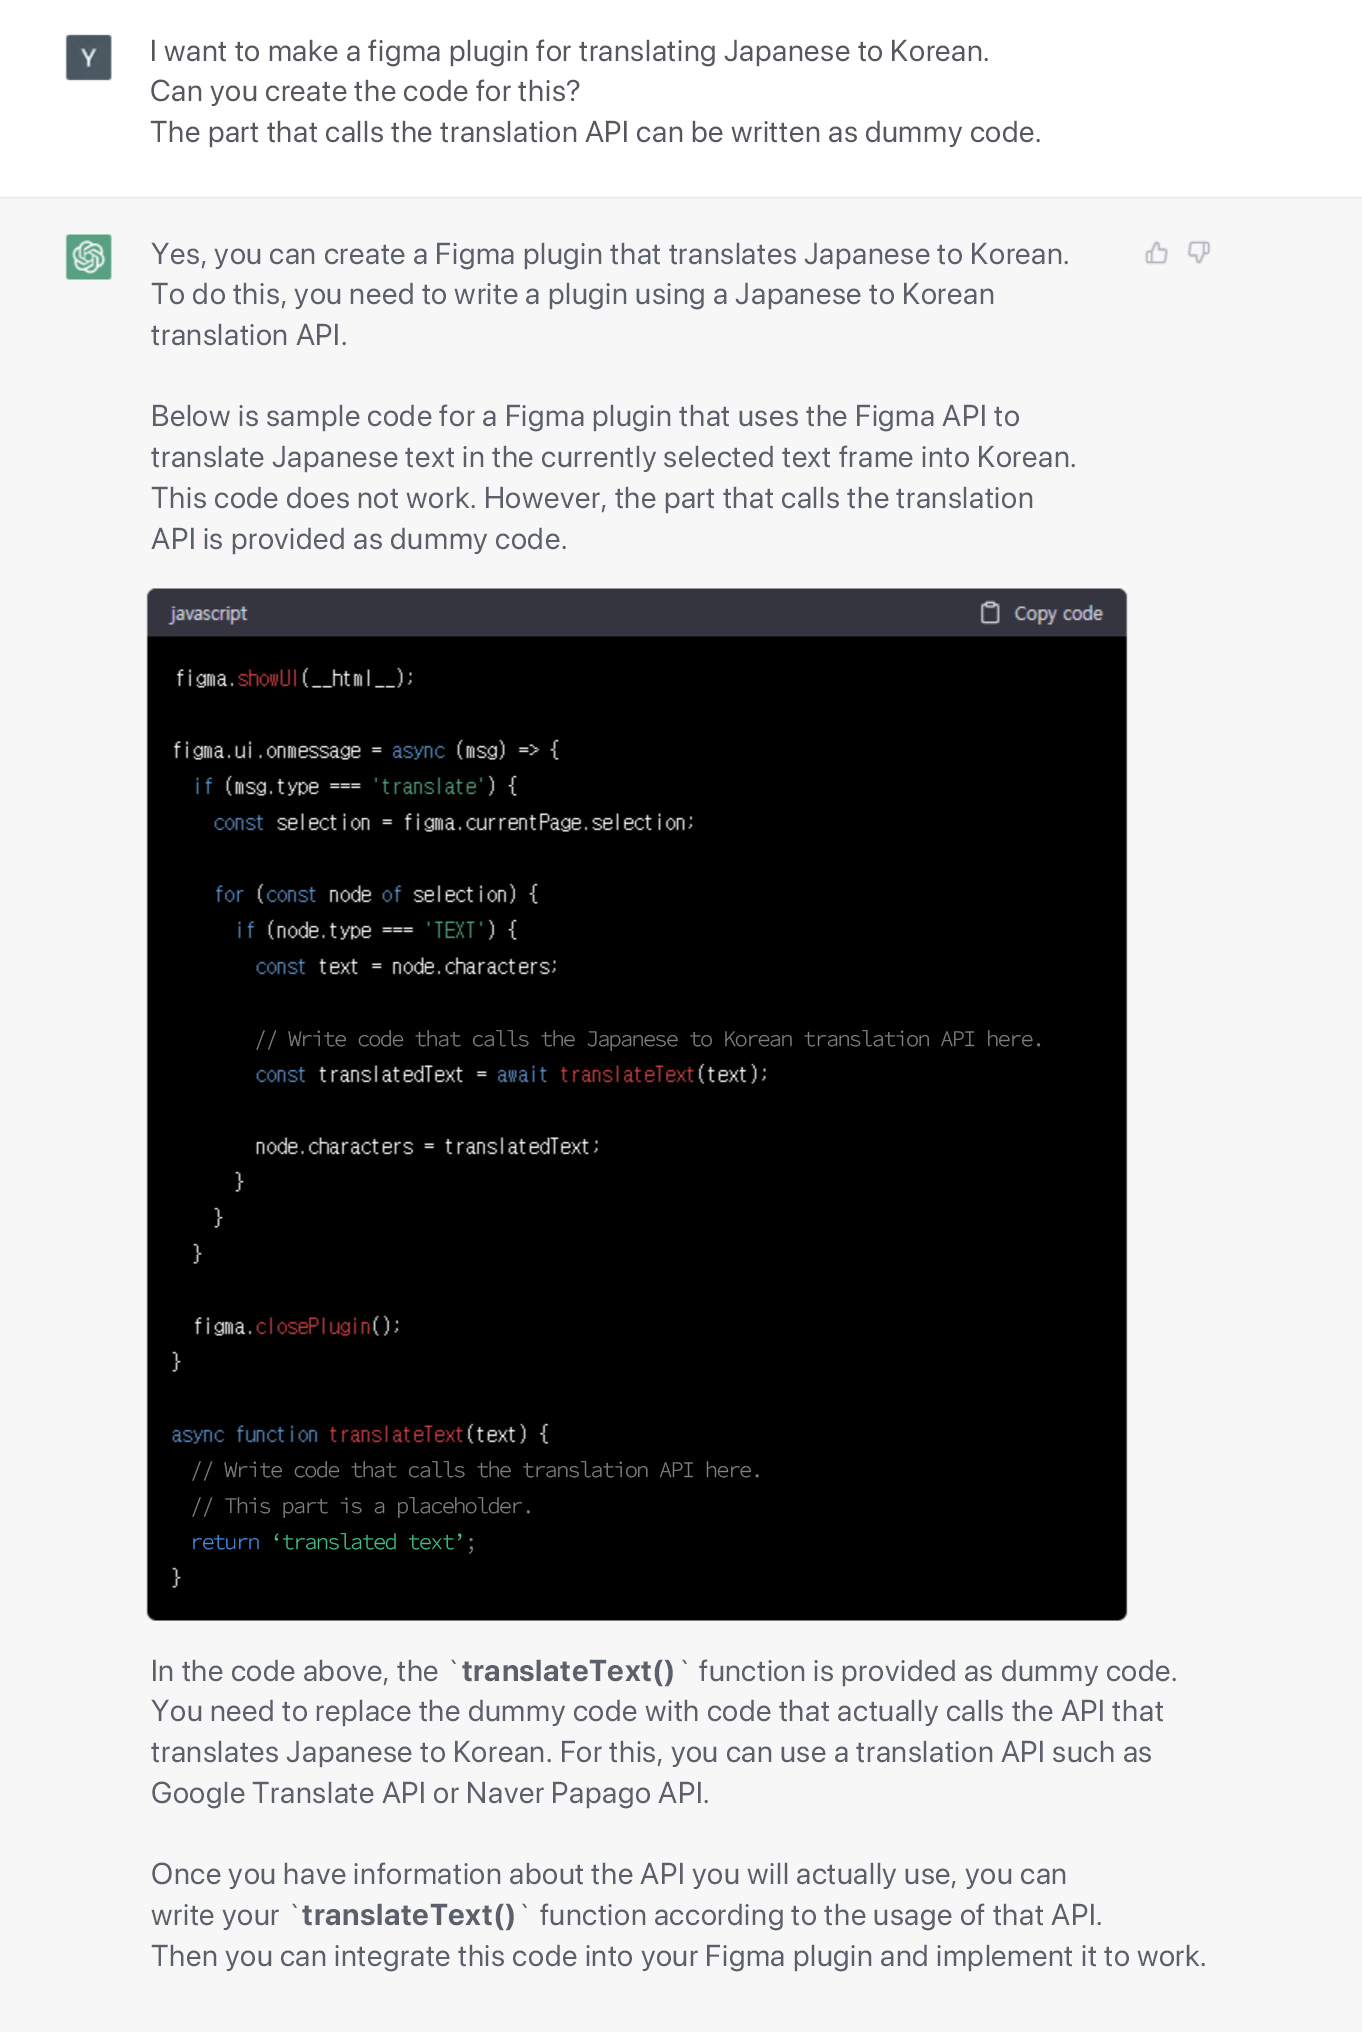
Another thing I needed to figure out was how to use the translation API, and I was able to get help from a teammate via Slack.

After doing the necessary research to create the plugin, I finally sought advice from a certain trending "colleague" and began development.
The first constraint
Despite how easy it seemed, the problem came quickly: the plugin I was working on wasn't calling the API correctly. The issue was covered at the bottom of the Making Network Requests page on the Figma Developers site, which looks like this.
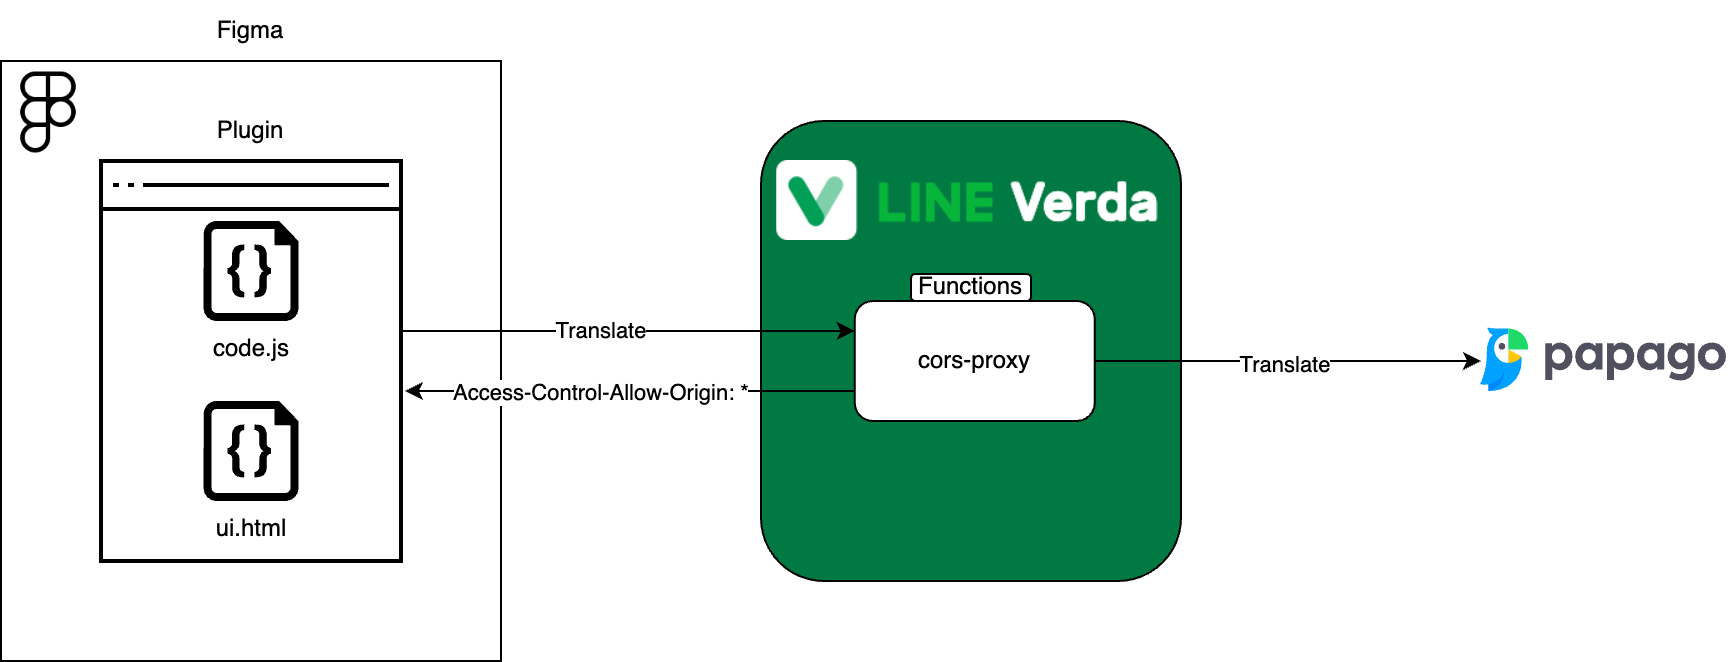
Because Figma and Figma plugins run in a browser environment, the Cross-Origin Resource Sharing policy applies.
The plugin runs inside an
iframewith anullorigin, which means it can only call the API that allows access from any origin (Access-Control-Allow-Origin: *).
Due to a technical limitation in the way the plugin runs, the API server had to allow access from all sources, which is not a common setting for API servers unless there are special circumstances, and our internal Papago API server didn't allow it either.
To solve this problem, we relayed requests through a proxy server that allowed access to all sources. Since LINE has Verda Functions, a serverless computing service similar to AWS Lamda, we were able to build a proxy server using this service and easily solve the problem.
Done with the first step
After solving the aforementioned issues, I completed development without much difficulty. Here's what the initial translation plugin looked like
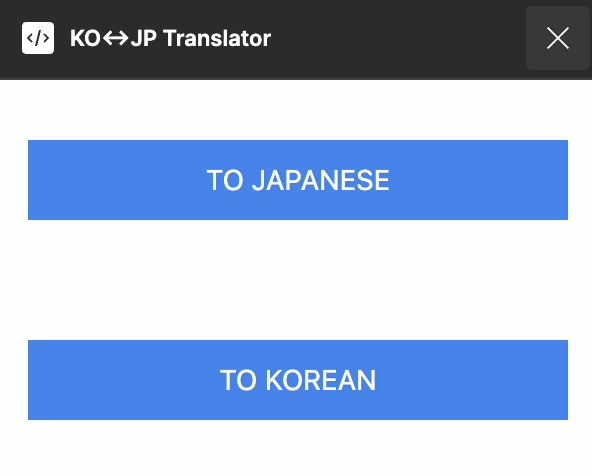 I kept the functionality simple, focusing on translating between two frequently used languages, like Jeans originally requested. I wanted to get the plugin up and running in its simplest form first, and then take feedback to develop further features. It took me less than half a day to get it up to this point, and I worked on it at home after dinner and some drinks with my coworkers because for some reason, I find this stuff more fun than my regular day job.

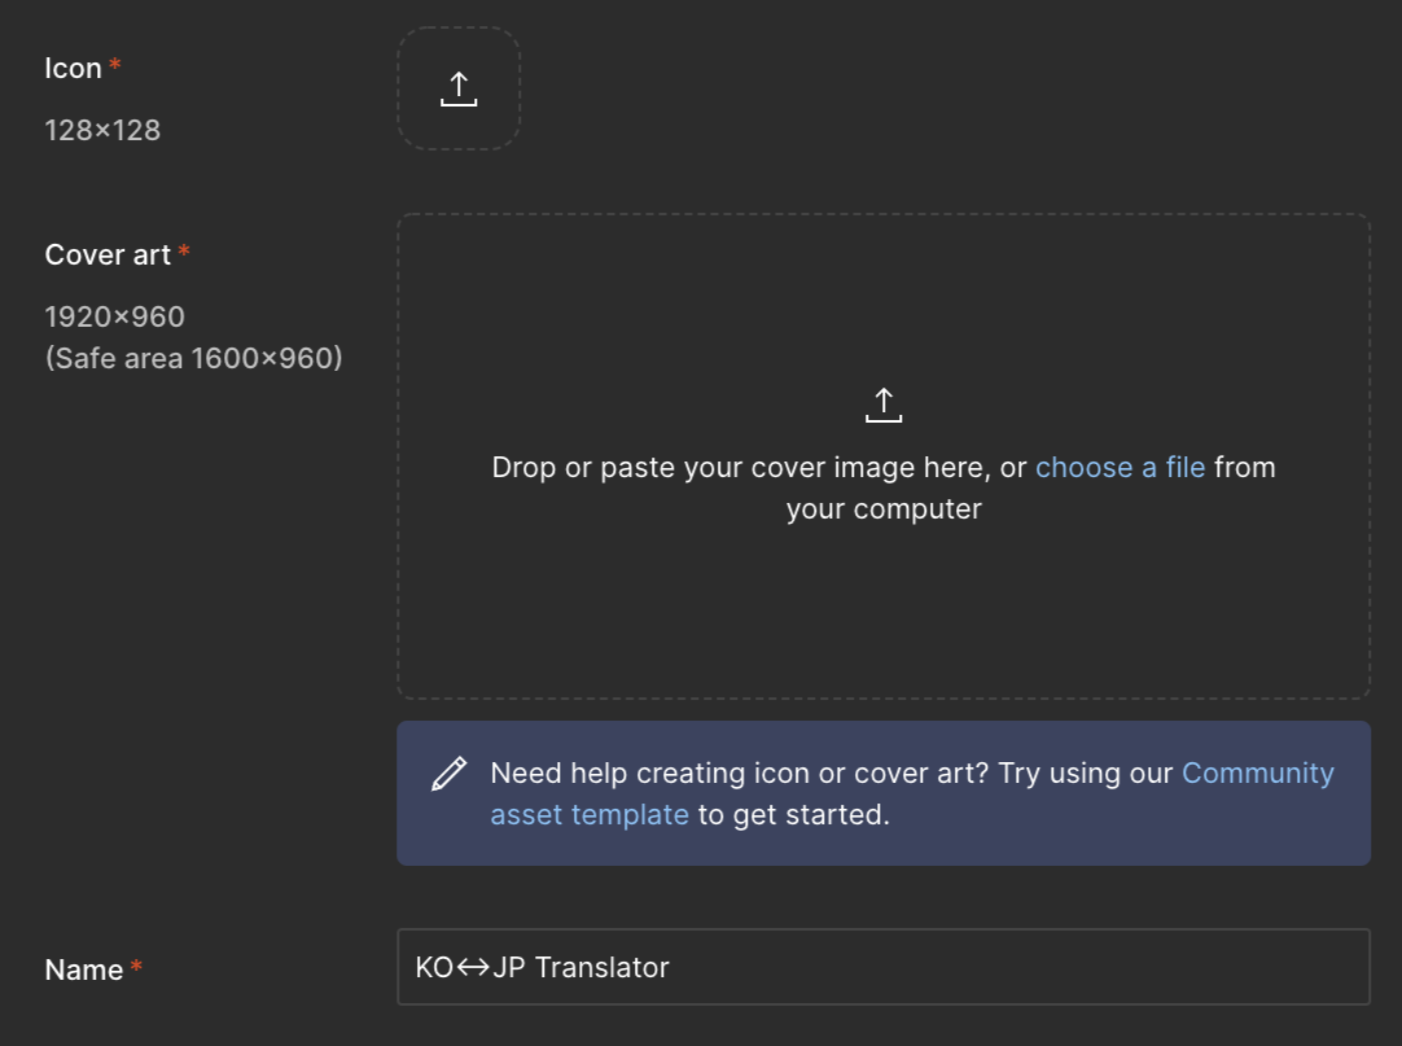
But there was one more thing we needed to register the plugin: the plugin icon and cover art. I could do everything else on my own, but I wasn't confident in my design skills. So I reached out to the team for help, and Scott helped me out.

Adopting Vue.js
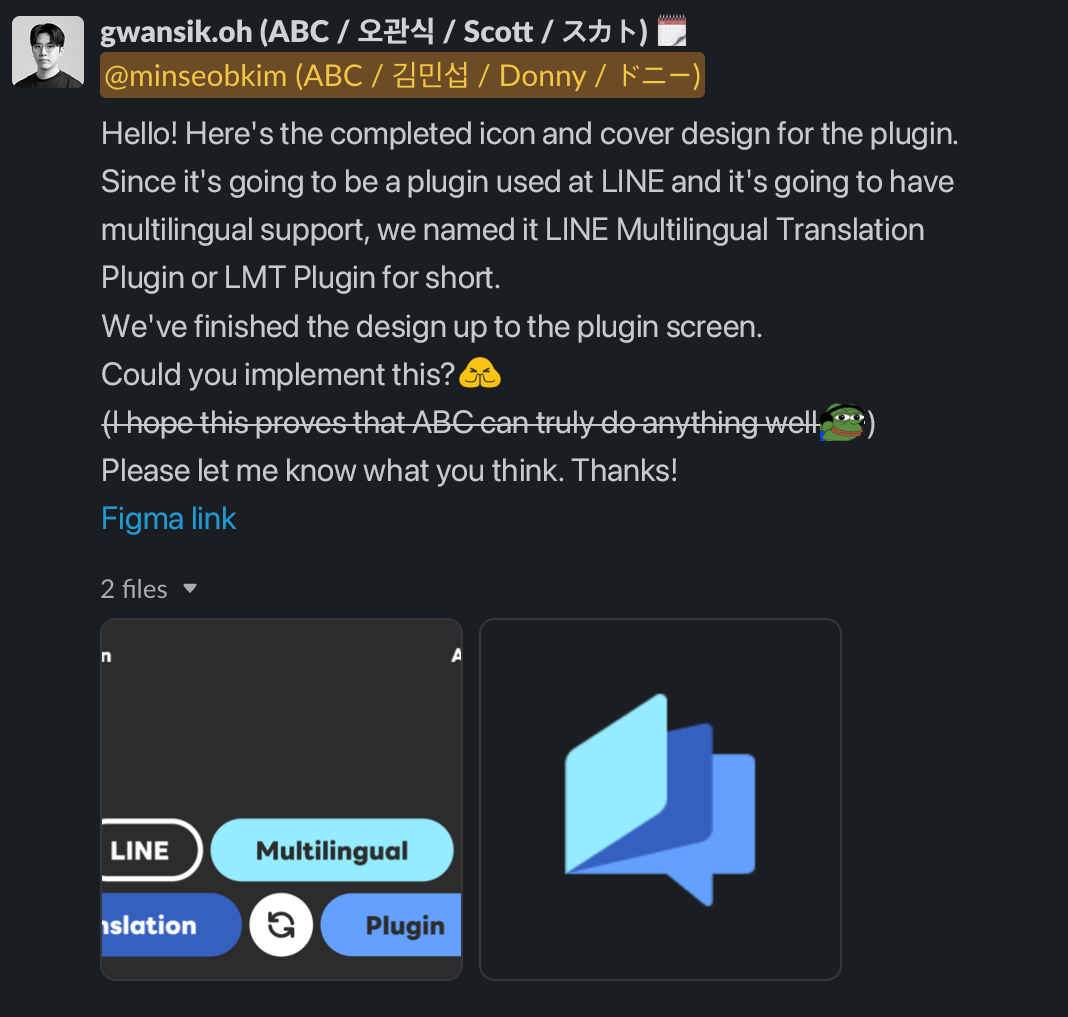
Three days later, Scott contacted me to let me know that he had finished designing the icon and cover art, but to my delight, he didn't just design the icon and cover art, he designed the entire plugin UI. Maybe he just couldn't stand the clunky UI that this poor developer had created. It's amazing.
The initial plugin screen was made up of HTML and Vanilla JS, but the new plugin screen I needed to create added a lot of functionality, so I decided to use Vue.js at this point because I didn't think it would be possible to implement it with Vanilla JS.
If you're asking why Vue.js, it's because it's all I know how to use. In fact, the documentation and plugin samples on the Figma Developers site are based on React, but I didn't want to spend time learning a new technology. This was a deliberate choice I made for a quicker product launch. If I knew React, I would've probably been a little better off using it instead.
The second constraint
At this point, I ran into a second issue: the .js and .css files generated by using Vue.js were not loading properly within the plugin.
This issue was covered in the Resource Links page on the Figma Developers site. When I looked into the cause, I realized that the Figma plugin could only use absolute path resources starting with http:// or https://, and not relative paths. This meant that I couldn't include other files like images alongside the ui.html and code.js.
Since the Vue.js project I used uses webpack as a bundler, I solved this problem by using the two webpack plugins below to include the .js and .css files in the HTML markup (for React, see the official sample).
How to set up webpack in Vue.js is described in the webpack documentation on the Vue CLI site. Using that document as a guide, I entered the following in my vue.config.js file to complete the setup.
plugins: [
    new HtmlInlineScriptPlugin({
        htmlMatchPattern: [/ui.html$/],
    }),
    new MiniCssExtractPlugin({
        filename: "[name].css",
        chunkFilename: "[id].css"
    }),
    new HTMLInlineCSSWebpackPlugin(),
]
Note that the latest version of Vue.js recommends bundling with Vite, and Vite seems to be able to solve this problem with the plugin below.
Ta-da! Released!
After we finished building it, we first put it up as a beta on Figma's space for LINE to test it within our team. Somehow, other teams got hold of it and asked if we could add Thai. Thanks to them, we added more language support in the full version to make it more widely available within LINE. It was a great experience to get feedback from our users and evolve the project.
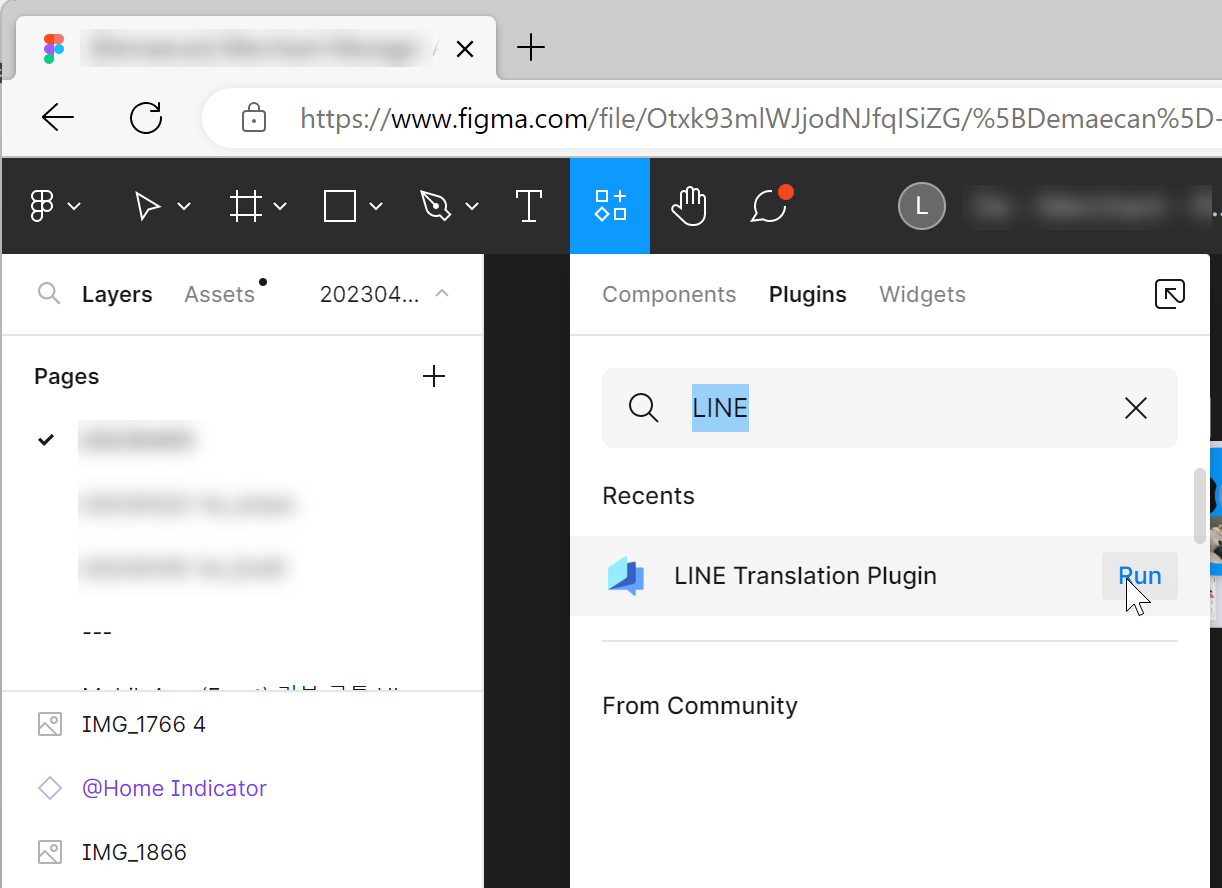
The created plugin can be run in Figma as shown below.
In conclusion
It was a fun experience to complete a small project with the help of several colleagues in a very short period of time. I think this was possible because of the well-equipped in-house infrastructure at LINE and the culture at ABC Studio, where planning, development, and design are done within the same team which also allows for more quick and freeform communication.
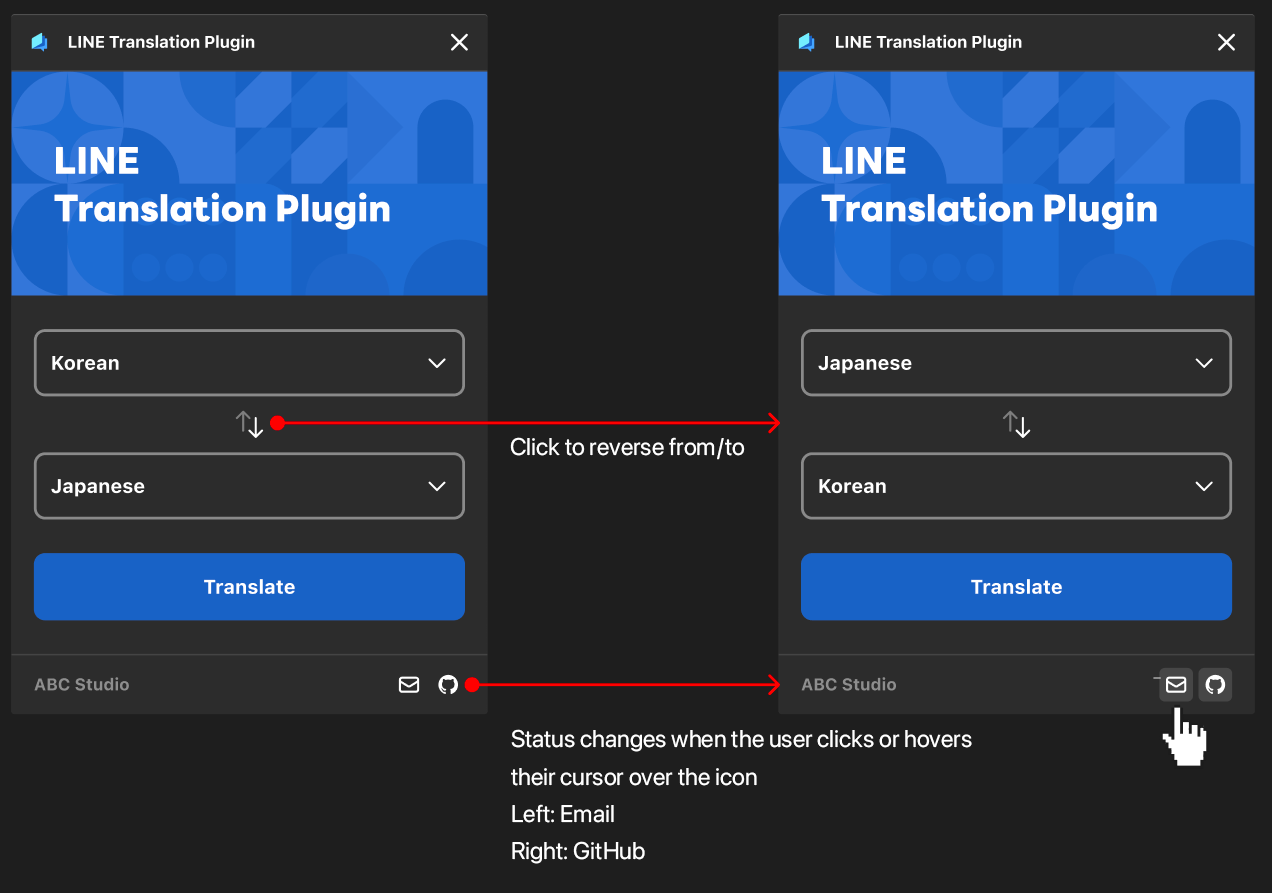
Finally, I'd like to end this post with a screenshot of the plugin in action, created by Scott.
Now available for open-source use!
After months of preparation, we are releasing the sample code for our Vue.js-based Figma translation plugin as an open-source project.
The project is under Apache License 2.0, allowing for free use, modification, and distribution. Feel free to use our open-source code if you plan to create a Vue.js plugin while using Figma. For more information, refer to README.md.